Crochet Gingham Dishcloth Free Pattern: Easy Step-by-Step
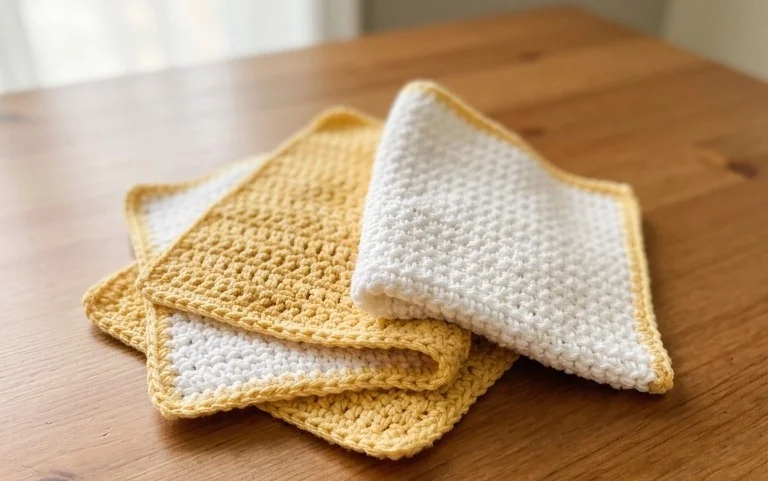
These heavy-duty cotton cloths sit thick and dense in your hand, offering a squishy texture that makes scrubbing messy pots feel surprisingly satisfying. The thermal stitch creates a dual-layer fabric that traps suds and grit, proving far more useful than thin, store-bought alternatives that lose their shape after a week. You will find this project acts as a meditative escape during quiet evenings, relying on a simple, rhythmic loop technique that builds up quickly. Whether you are stocking your kitchen with handmade basics or building a thoughtful gift pile, this pattern provides a sturdy foundation for any home crafter who values long-lasting functionality over frills.
Why You’ll Love This Pattern
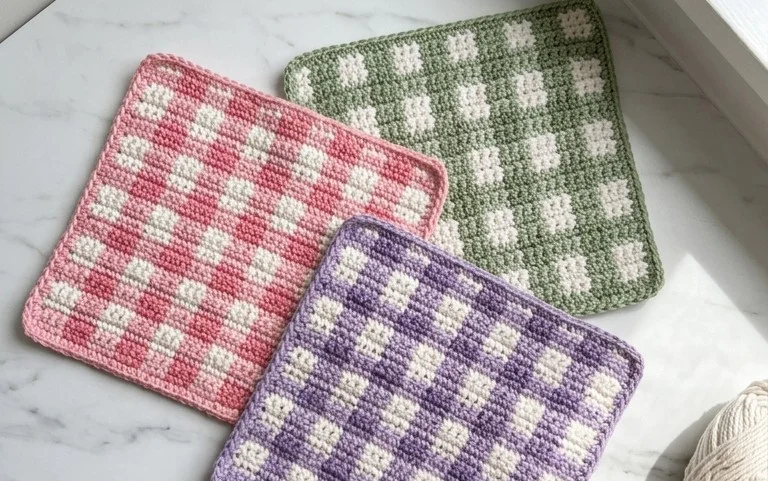
This classic crochet dishcloth is designed using a thermal stitch pattern, which creates a thick, double-layered fabric ideal for scrubbing tough kitchen messes. You only need a single skein of cotton yarn to complete this project, making it a budget-friendly option for home goods. The rhythmic, repetitive nature of the stitch makes it an excellent choice for mindless stitching while watching television or listening to podcasts. Because it uses a durable cotton fiber, the finished cloth withstands frequent washing and heavy-duty use over time.
I was surprised by how much thicker this dishcloth turned out compared to my usual granny square versions, and it cleans my cast iron pans perfectly.
— Sarah, home cook
Pattern Overview & Skill Level
- Skill Level: Advanced Beginner
- Approximate Time: 90 minutes
- Construction: Worked in flat rows using the thermal half-double crochet stitch, which involves working into the third loop of the previous row to pull the fabric together into a double-thick layer.
- Finished Dimensions: 8 inches by 8 inches
Materials & Supplies Needed
- Yarn: Worsted #4 weight, 100% cotton yarn. Approximately 85 yards.
- Hook Size: 5.0 mm (H-8) crochet hook.
- Notions: Tapestry needle for weaving ends, a pair of scissors.
- Yarn substitutions: You may use a cotton-acrylic blend for a softer feel, though 100% cotton is recommended for better absorbency. Using a lighter weight yarn will result in a smaller cloth unless you increase your starting chain.
Stitch Guide & Abbreviations (US Terms)
- ch = chain
- hdc = half double crochet
- st/sts = stitch/stitches
- BLO = back loop only
- 3rd loop = the extra loop found behind the standard front and back loops of an hdc stitch
- Thermal HDC: Work hdc into the 3rd loop of the current row and the front loop of the row below simultaneously to lock the rows together.
Step-by-Step Pattern Instructions
Foundation Row
Row 1: Ch 30. Starting in the second ch from hook, work 1 hdc in each ch across. Turn. (29 sts)
Thermal Body
Row 2: Ch 1. Work 1 hdc in the BLO of each st across. Turn. (29 sts)
Row 3: Ch 1. This row creates the thermal thickness. Insert hook into the 3rd loop of the stitch from Row 2 and the front loop of the stitch from Row 1. Yarn over and pull through both, complete as a normal hdc. Repeat across the row. Turn. (29 sts)
Row 4: Ch 1. Insert hook into the 3rd loop of the stitch from Row 3 and the remaining back loop of the stitch from Row 2. Yarn over, pull through both, and complete hdc. Repeat across the row. Turn. (29 sts)
Rows 5–28: Repeat the instructions for Row 4, working into the 3rd loop of the current row and the open loop from the row immediately preceding it. This process creates the dense, double-thick fabric. (29 sts per row)
Finishing
Fasten off your yarn, leaving a six-inch tail. Use your tapestry needle to weave the tail back and forth through the dense fabric to secure it. Trim any excess yarn close to the surface of the dishcloth. No blocking is necessary due to the heavy texture of the stitch pattern.
Care & Washing Instructions
- Machine wash on a warm setting (up to 104 degrees Fahrenheit) with similar colors to prevent dye transfer.
- Tumble dry on low heat or lay flat on a drying rack to maintain the shape of the square.
- Avoid using fabric softener, as it leaves a residue that reduces the natural absorbency of the cotton fiber.
Pro Tips & Common Mistakes to Avoid
- Maintain consistent tension, especially during the thermal stitch rows, as tight stitches make it difficult to insert your hook into the 3rd loop.
- Use a stitch marker at the beginning of every row to ensure you do not accidentally skip the final stitch, which keeps the sides of your cloth perfectly straight.
- Weave your ends in multiple directions through the thick fabric rather than just once, which prevents them from working loose during heavy scrubbing.
- Adjust the size by changing your starting chain count to any odd number, keeping in mind that more stitches will require extra yardage beyond the estimated 85 yards.
Frequently Asked Questions
Can I use a different yarn weight for this pattern?
Yes, you can use a lighter or heavier yarn, but be aware that the thermal stitch density will change. A lighter yarn will require more starting chains to reach the 8-inch width.
Is this project suitable for a complete beginner?
While the stitches themselves are simple, the thermal technique requires practice to locate the correct loops. If you are comfortable with basic hdc stitches, you will find this manageable.
Can I sell the dishcloths I make from this pattern?
You are welcome to sell physical items made from this pattern, but you must credit the original design. Do not distribute or sell the written pattern document itself.
Why does my cloth look lopsided at the edges?
This often happens if you miss the final stitch of the row. Always count your stitches at the end of each row to ensure you maintain exactly 29 stitches throughout the project.
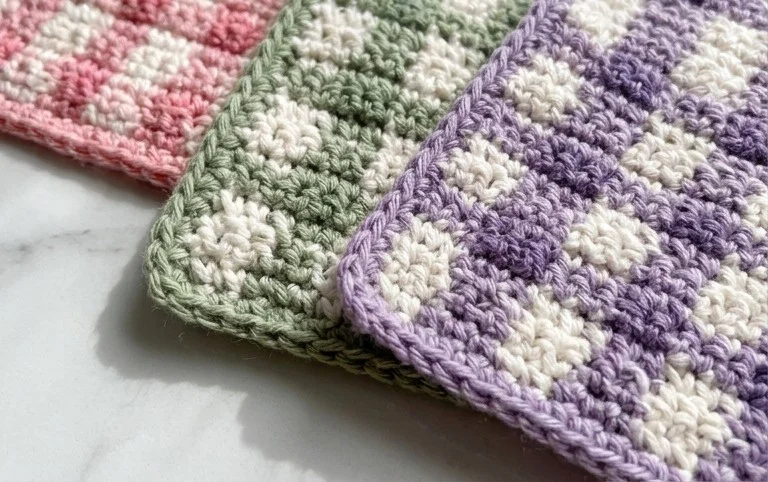
Your finished kitchen cloth provides a sturdy, reliable companion for every dish-washing session, effectively tackling grease with its thick and absorbent thermal ridges. Consider swapping the two colors for a variegated yarn if you prefer a subtle blended look rather than the crisp gingham grid. Seeing how these turn out in different color combinations is always rewarding, so please share a photo of your work when you finish. You can find more free dishcloth projects and home goods patterns waiting for you on the main blog page.