Classic Granny Square: Free Beginner Crochet Pattern
A stack of soft yarn squares feels substantial in your hands, carrying the weight of handmade care and rhythmic focus. These squares are dense enough for a thick winter blanket yet airy enough to serve as light dishcloths or coasters for your morning coffee. Beginners find deep satisfaction in the way the double crochet clusters line up, transforming simple loops into a structured, geometric form that grows steadily with every round. You will master the basic technique of working in joined rounds to create a durable, classic textile that brings warmth to your home and joy to your crafting hours.
Why Crocheters Love It
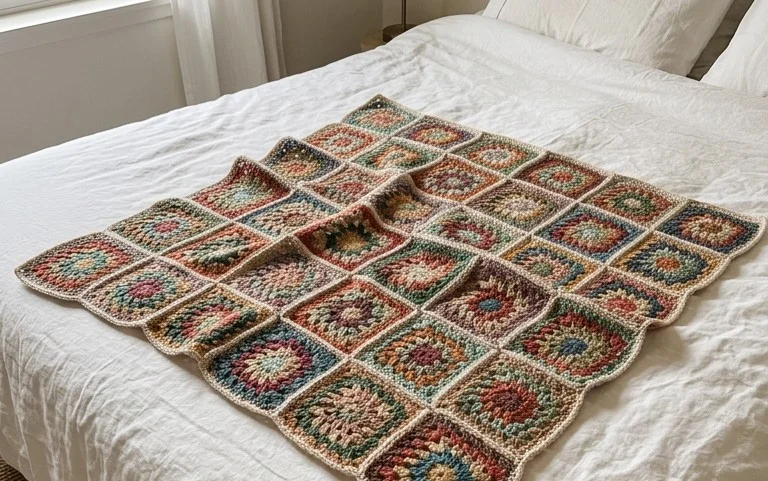
The Classic Crochet Granny Square is the fundamental building block for countless heritage blankets, garments, and home decor items. This pattern works up quickly using simple double crochet clusters separated by chain stitches, creating a balanced, lacy aesthetic that remains timeless. Because it relies on a repetitive growth pattern, it is an ideal project for practicing tension control and consistent sizing while watching television or listening to an audiobook. Its modular nature allows you to stop at any size, making it perfect for using up leftover scrap yarn from previous projects.
I started this project as a complete beginner and felt confident after finishing the first few rounds because the pattern is so logical and repetitive. The final result is sturdy and looks professional even with basic materials.
— Sarah, hobbyist crafter
Pattern Overview & Skill Level
- Skill Level: Beginner
- Approximate Time: 30 to 45 minutes per square
- Construction: Worked in joined rounds, starting from the center and expanding outward
- Finished Dimensions: Approximately 6 inches by 6 inches when using worsted weight yarn and a 5.0 mm hook
Materials & Supplies Needed
- Yarn: Worsted weight (#4), 100% acrylic or wool blend, approximately 20 yards per square.
- Hook Size: 5.0 mm (US H-8).
- Notions: Yarn needle for weaving in ends, sharp scissors.
- Safe yarn substitutions: You can use DK weight yarn for a smaller, tighter square, or bulky weight yarn for a larger, quicker square; note that gauge changes will require adjusting your yarn yardage calculations accordingly.
Stitch Guide & Abbreviations (US Terms)
- ch: Chain
- st: Stitch
- sl st: Slip stitch
- dc: Double crochet
- dc cluster: 3 double crochet stitches worked into the same space
- sp: Space
- rnd: Round
Step-by-Step Pattern Instructions
Classic Granny Square
- Rnd 1: Start with a magic ring or ch 4 and sl st to the first ch to form a loop. Ch 3 (counts as first dc here and throughout). Work 2 dc into the ring. Ch 2, 3 dc into the ring, ch 2, 3 dc into the ring, ch 2, 3 dc into the ring. Ch 2 and sl st into the top of the beginning ch-3. (12 dc, 4 ch-2 sps)
- Rnd 2: Sl st into the next 2 sts and into the first ch-2 sp. Ch 3, 2 dc in same sp, ch 2, 3 dc in same sp (first corner made). Ch 1, skip 3 dc, (3 dc, ch 2, 3 dc) in next ch-2 sp — repeat from * to * two more times. Ch 1, sl st to top of beg ch-3. (24 dc, 4 ch-2 corners, 4 ch-1 spaces)
- Rnd 3: Sl st into next 2 sts and into the corner sp. Ch 3, 2 dc in same sp, ch 2, 3 dc in same sp. Ch 1, 3 dc in next ch-1 space, ch 1, (3 dc, ch 2, 3 dc) in next corner sp — repeat from * to * two more times. Ch 1, 3 dc in next ch-1 space, ch 1, sl st to top of beg ch-3. (36 dc, 4 ch-2 corners, 8 ch-1 spaces)
- Rnd 4 and beyond: Continue in established pattern, working 3 dc in every ch-1 space along the sides and (3 dc, ch 2, 3 dc) in every corner space. Join each round with a sl st to the top of the beginning ch-3.
Finishing
Once you reach the desired size, fasten off your yarn, leaving a 6-inch tail. Use your yarn needle to weave the tail through the back of the stitches to secure it. If you are making multiple squares, block them by pinning them flat to a foam board and steaming them lightly to ensure all corners are square and the dimensions match.
Care & Washing Instructions
- Machine wash in cold water on a gentle cycle using a mild detergent.
- Lay the square flat on a clean towel to air dry, reshaping it into a perfect square while damp.
- Avoid using high heat or tumble drying, as this can cause natural fibers to shrink or acrylic fibers to lose their stitch definition.
Pro Tips & Common Mistakes to Avoid
- Maintain consistent tension by holding your yarn with a steady grip, ensuring the chain stitches in the corners are not pulled too tightly.
- Place a stitch marker in the first stitch of every round to easily identify where to join, as the turning chains can sometimes be hard to locate.
- Weave in your ends horizontally through the base of the stitches rather than vertically, which makes the ends practically invisible and prevents them from poking out over time.
- Understand that adding more rounds will consume significantly more yarn; keep track of your yardage if you are working with a limited amount of a specific color.
Frequently Asked Questions
Can I use a different hook size than recommended?
Yes, changing your hook size will alter the drape and size of your square. A smaller hook will result in a denser, smaller fabric, while a larger hook will create a looser, more open structure.
Is this pattern suitable for complete beginners?
This is an excellent first project because it teaches you how to work in the round, how to create spaces between clusters, and how to maintain consistent growth in a square shape.
How do I join multiple granny squares together?
You can join squares using a whip stitch or a single crochet seam through the back loops of the outer stitches of each square, depending on whether you prefer a flat or decorative join.
May I sell items made from this pattern?
Please check the original source material or website for specific licensing terms, as individual designers set their own rules regarding the sale of finished items made from their patterns.
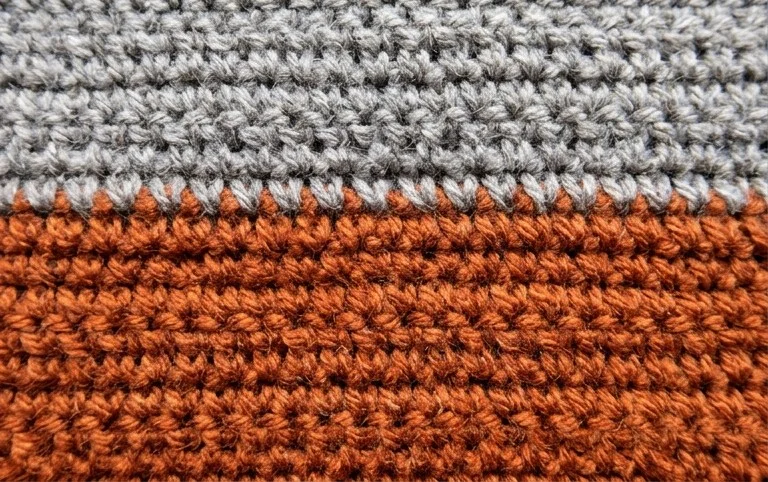
Your finished square is a testament to what you can build with just a hook and a bit of yarn, providing a reliable foundation for any future project. Try using a variegated wool yarn for your next attempt to see how the shifting colors change the look of the same basic stitch pattern without needing extra work. Please snap a photo of your progress to share on social media platforms so other makers can see your color choices. Browse through the other free patterns on the blog whenever you feel ready to start your next handmade endeavor.