Easy Crochet Beanie Pattern: Free Beginner Guide
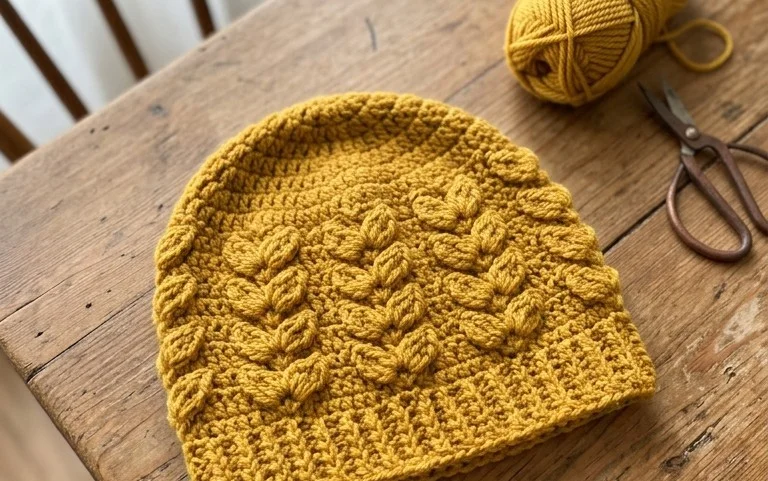
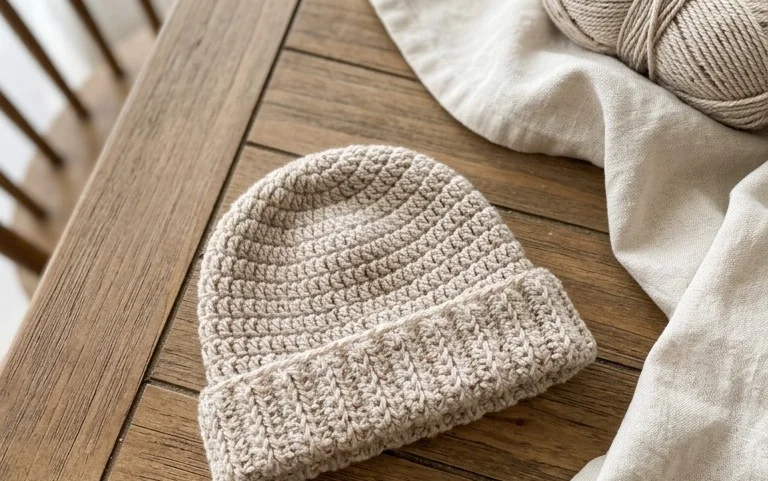
This classic winter hat features a dense, squishy fabric that keeps ears warm even on the coldest mornings. The texture comes from using the half double crochet stitch repeatedly in joined rounds, which creates a thick barrier against biting winds. Beginners appreciate how quickly the hat grows, while experienced makers find the rhythmic nature of the work peaceful after a long day. You will learn how to manage tension and maintain a consistent stitch count to create a garment that fits properly. This project is a great way to use a single skein of leftover yarn to create a handmade gift.
Why Crocheters Love It
This classic crochet beanie works up quickly using simple, repeating stitches that create a dense, warm fabric perfect for winter weather. The project relies entirely on basic half double crochet stitches, making it an ideal choice for makers who want a relaxing, meditative rhythm without complex counting. Because the pattern uses a straightforward top-down construction, you can easily try it on as you go to ensure a precise, custom fit for any head size. The dense texture provides wind resistance while remaining soft against the skin when worked with a standard acrylic or wool blend.
I finished this hat in one evening while watching a movie. The instructions were very clear and the sizing worked out perfectly for a gift for my sister.
— Sarah, hobbyist crocheter
Pattern Overview & Skill Level
- Skill Level: Beginner
- Approximate Time: 3 to 5 hours
- Construction: Worked in joined rounds from the crown downward
- Finished Dimensions & Sizing: Adult medium, approximately 20-22 inches in circumference
Materials & Supplies Needed
- Yarn: Worsted weight #4, 100% acrylic or wool blend, approximately 200 yards
- Hook Size: 5.5 mm (US I-9)
- Notions: Tapestry needle, stitch markers, scissors, measuring tape
- Safe yarn substitutions: You can use a cotton blend for a lighter, spring-appropriate hat. Note that cotton has less stretch than acrylic, so you may need to add an extra increase round to maintain the same circumference.
Stitch Guide & Abbreviations (US Terms)
- ch: chain
- st/sts: stitch/stitches
- sl st: slip stitch
- hdc: half double crochet
- inc: increase (work 2 hdc into the same stitch)
- MR: magic ring
Step-by-Step Pattern Instructions
Crown and Body
The hat begins with a magic ring and grows through circular increases until the diameter reaches 7 inches.
- Rnd 1: Start 8 hdc into a MR. Join with a sl st to the first st. (8 sts)
- Rnd 2: Ch 1, 2 hdc in each st around. Join with a sl st to the first st. (16 sts)
- Rnd 3: Ch 1, 1 hdc in next st, 2 hdc in next st. Repeat from * to * around. Join with a sl st. (24 sts)
- Rnd 4: Ch 1, 1 hdc in next 2 sts, 2 hdc in next st. Repeat from * to * around. Join with a sl st. (32 sts)
- Rnd 5: Ch 1, 1 hdc in next 3 sts, 2 hdc in next st. Repeat from * to * around. Join with a sl st. (40 sts)
- Rnd 6: Ch 1, 1 hdc in next 4 sts, 2 hdc in next st. Repeat from * to * around. Join with a sl st. (48 sts)
- Rnd 7: Ch 1, 1 hdc in next 5 sts, 2 hdc in next st. Repeat from * to * around. Join with a sl st. (56 sts)
- Rnd 8: Ch 1, 1 hdc in next 6 sts, 2 hdc in next st. Repeat from * to * around. Join with a sl st. (64 sts)
- Rnds 9-20: Ch 1, 1 hdc in each st around. Join with a sl st. (64 sts)
Brim and Finishing
- Rnds 21-23: Ch 1, 1 hdc in each st around. Join with a sl st. (64 sts)
- Finishing: Fasten off, leaving a 6-inch tail. Use the tapestry needle to weave the yarn tail securely into the inside of the brim to prevent unraveling.
Care & Washing Instructions
- Hand wash in cool water using a mild wool-safe detergent to preserve fiber integrity.
- Lay the item flat on a towel to air dry, reshaping it gently to its original dimensions while damp.
- Avoid wringing or twisting the fabric when wet to prevent stretching or damaging the stitch definition.
Pro Tips & Common Mistakes to Avoid
- Maintain consistent tension by holding the yarn with a steady grip, as loose tension results in a hat that may lose its shape over time.
- Place a stitch marker at the beginning of every round so you do not lose track of your count, especially during the increase section.
- Weave in your yarn ends by traveling through the underside of the stitches for at least two inches to ensure they stay hidden and secure.
- To adjust the size for a smaller head, stop increasing after Round 7 and proceed directly to the body rounds; to increase size, work one additional increase round before starting the body.
Frequently Asked Questions
Can I use a larger hook for this pattern?
Using a larger hook will make the fabric airier and the overall hat larger. If you choose this route, check your gauge to ensure the hat still fits your head size properly.
Is this project suitable for a complete beginner?
Yes, because the project only uses the half double crochet stitch and avoids complicated shaping or changing colors, it is a perfect first project for someone new to crochet.
How do I know if I have enough yarn?
A standard skein of worsted weight yarn usually contains at least 200 yards, which is sufficient for this hat. Always check the yardage on your yarn label before beginning to ensure you have enough to complete the final rows.
Can I sell the hats I make from this pattern?
You are welcome to sell finished items made from this design. Please credit the pattern designer when listing your products online or at craft markets.
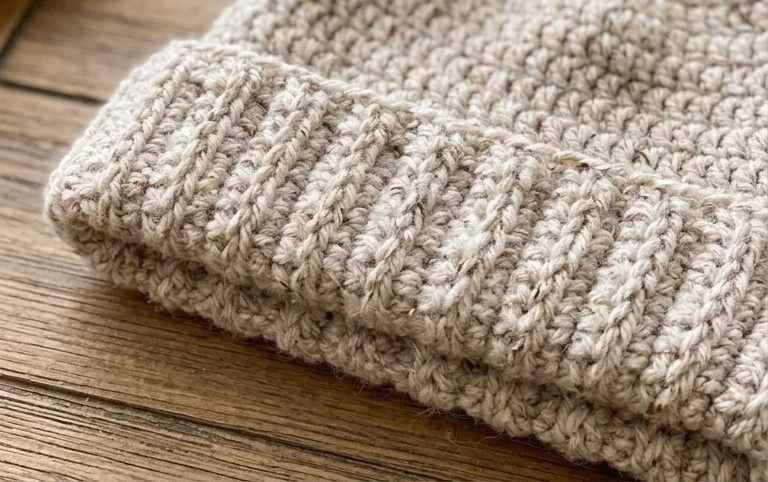
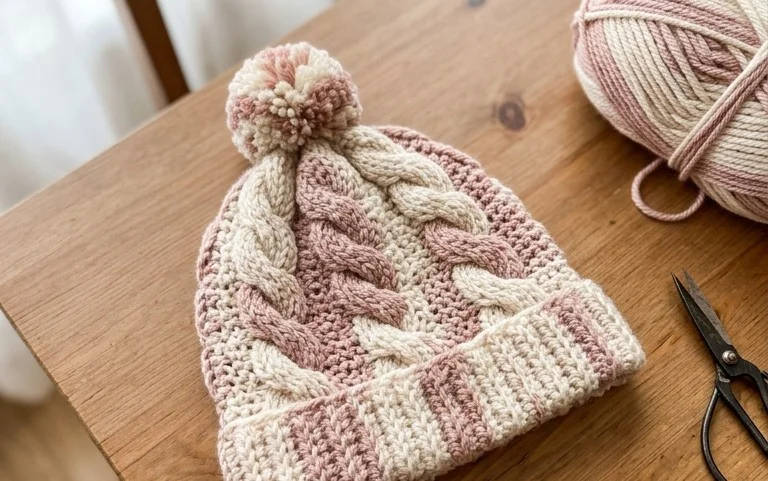
Your finished hat should feel substantial and soft, fitting snugly without being tight against your forehead. If you want to change the look, try adding a contrasting yarn color for the brim or attaching a faux fur pompom to the top for extra weight. I enjoy seeing how these projects turn out, so please share a photo of your work on your favorite social media platform. You can find more free crochet patterns and tutorials available on the main blog page for your next afternoon project.