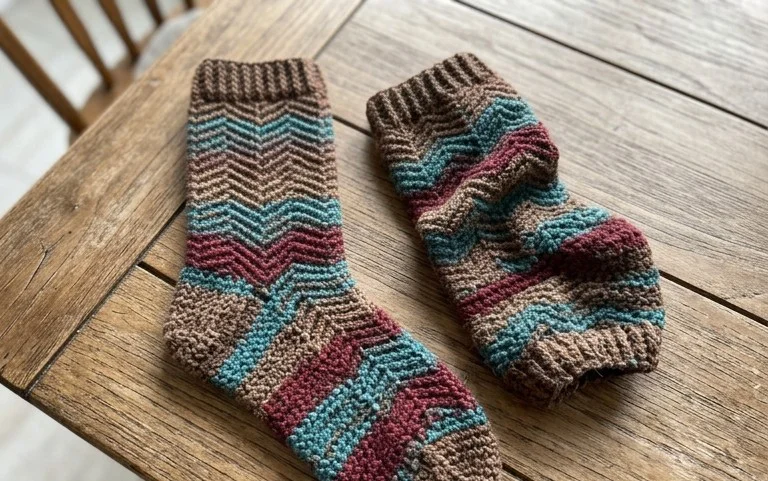
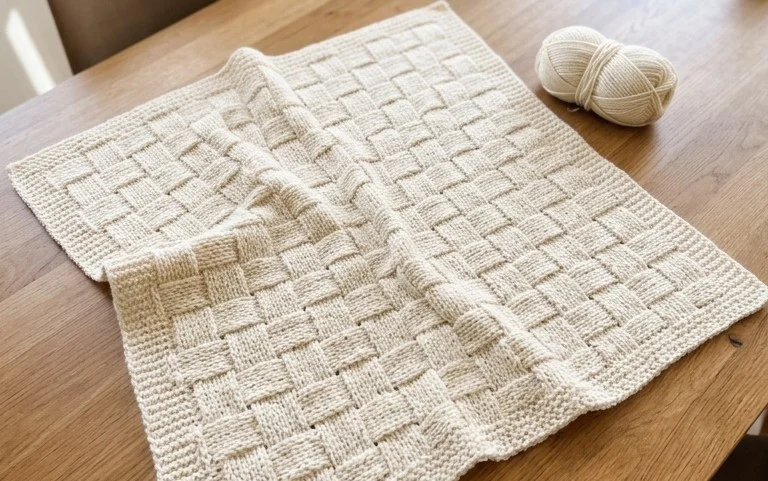
Easy Crochet Baby Hat with Ears Pattern: Free Step-by-Step
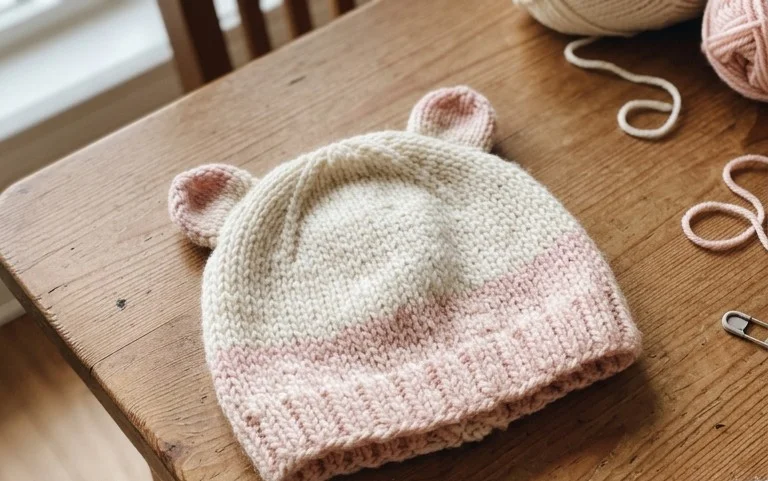
Soft cotton yarn creates a squishy and warm accessory that keeps tiny ears protected during outdoor walks. These animal-inspired beanies feature a sturdy construction that holds its shape, making them a reliable choice for your next gift. You will practice working in a continuous spiral, which removes the need for visible join lines that often clutter baby garment designs. Whether you want to clear out your scrap bin or produce a batch of market goods, this simple project provides a rewarding way to build your skills. You will finish with a structured, durable piece that feels gentle against sensitive skin.
Why Crocheters Love It
This beginner-friendly project works up in under two hours, making it an ideal choice for last-minute gifts or stocking your market inventory. The pattern relies on basic single crochet stitches worked in continuous rounds, which creates a dense, professional finish without visible seams. Because it requires less than one skein of standard worsted weight yarn, it serves as a practical way to use up leftover yarn from larger blankets or garment projects. The result is a durable, structured accessory that maintains its shape even after heavy daily use.
I managed to finish this project in a single afternoon while watching a movie. The instructions are very clear, and I did not have to worry about complex stitch counts while working the rounds.
— Sarah, hobbyist crafter
Pattern Overview & Skill Level
- Skill Level: Beginner
- Approximate Time: 1.5 to 2 hours
- Construction: Amigurumi-style continuous rounds using a magic ring and increases/decreases
- Finished Dimensions: 4 inches tall by 3.5 inches wide
Materials & Supplies Needed
- Yarn: Worsted #4 weight, 100% cotton yarn (approx. 40 yards), color of choice.
- Hook Size: 4.0 mm (US G-6).
- Notions: Tapestry needle, stitch marker, fiberfill stuffing, and scissors.
- Yarn Substitutions: Acrylic worsted yarn works well for a softer feel, though it may result in a slightly larger finished size due to the lack of fiber tension compared to cotton. Avoid fuzzy mohair or novelty yarns, as they obscure the stitch definition and make counting rounds difficult.
Stitch Guide & Abbreviations (US Terms)
- MR: Magic ring
- ch: Chain
- sc: Single crochet
- inc: 2 sc in the same stitch (increase)
- dec: sc2tog (invisible decrease by picking up the front loops only of the next two stitches)
- sl st: Slip stitch
- st/sts: Stitch/stitches
Step-by-Step Pattern Instructions
Main Body
- Rnd 1: Start 6 sc in a MR (6 sts).
- Rnd 2: Inc in each st around (12 sts).
- Rnd 3: [Sc 1, inc in next st] 6 times (18 sts).
- Rnd 4: [Sc 2, inc in next st] 6 times (24 sts).
- Rnd 5: [Sc 3, inc in next st] 6 times (30 sts).
- Rnd 6: Sc in each st around (30 sts).
- Rnd 7-12: Repeat Rnd 6 (30 sts).
- Rnd 13: [Sc 3, dec] 6 times (24 sts).
- Rnd 14: [Sc 2, dec] 6 times (18 sts).
Finishing and Assembly
- Fill the body firmly with fiberfill stuffing until it holds a rounded shape.
- Rnd 15: [Sc 1, dec] 6 times (12 sts).
- Rnd 16: Dec 6 times (6 sts).
- Fasten off, leaving a 6-inch tail. Use the tapestry needle to weave the yarn through the front loops of the remaining 6 stitches and pull tight to close the opening. Weave the end into the center of the body to secure.
Care & Washing Instructions
- Hand wash the item in cool water using a mild wool-safe detergent.
- Gently squeeze out excess water with a towel; do not wring or twist the fabric.
- Lay the item flat on a dry towel and reshape it while damp, allowing it to air dry away from direct sunlight.
Pro Tips & Common Mistakes to Avoid
Maintain consistent tension by holding the working yarn with a steady grip, as loose stitches will allow the fiberfill stuffing to show through the fabric. Always place a stitch marker in the first stitch of every round; this ensures you track your progress accurately without losing your place in the repeat. Hide your yarn ends by running the needle through the interior of the piece rather than pulling them through the exterior loops, which keeps the surface smooth. If you decide to adjust the size of the project by adding more increase rounds, keep in mind that you will need approximately 20% more yarn for every inch added to the diameter.
Frequently Asked Questions
Can I substitute the cotton yarn for wool?
Yes, you can use wool, but be aware that wool has more “give” than cotton. You might need to drop down one hook size to prevent the stuffing from poking through the stitches.
How do I make this project larger?
To increase the size, continue the increase rounds (e.g., [Sc 4, inc], [Sc 5, inc]) until you reach your desired diameter, then work even rounds before beginning your decreases.
Is this pattern suitable for a total beginner?
This pattern is excellent for beginners who understand how to form a magic ring and basic single crochet, as the repeating nature of the rounds helps build muscle memory.
Can I sell the items I make from this pattern?
You are welcome to sell finished items made from this design, provided you credit the pattern designer in your listing. Please do not redistribute the pattern text itself.
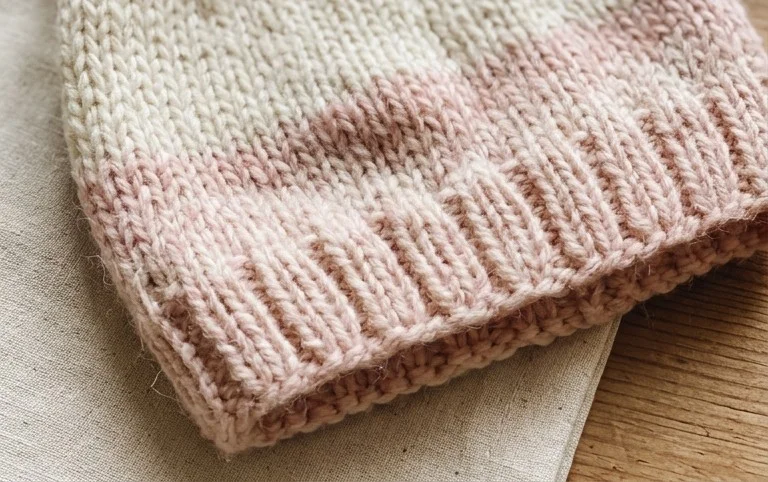
Holding a completed hat with those tiny ears makes all the hours of concentration worth it. You can experiment by switching to a fuzzy wool blend for extra warmth or adding a small pom-pom between the ears for a different look. Please snap a picture of your finished work and share it online so other makers can see your color choices. Browse the rest of the blog for more baby gear and accessory tutorials to keep your hooks busy for your next project.